
 Grab a Special Deal!

 Grab a Special Deal!
 Grab a Special Deal!

Have you paid attention to the large car stickers being increasingly popular? I have to say that applying personalised vinyl stickers to a variety of surfaces to retouch your surroundings can be really entertaining and innovative. However, learning how to make vinyl stickers is not as complex as you thought!
Take today’s tutorial to get a better understanding of custom vinyl stickers suitable for yourself as home decor and unique trinkets. And you’ll never be disappointed!
Do you actually know what vinyl stickers are? Literally, they are colorful stickers made of vinyl materials, which combine excellent tensile strength, vibrant hues, and a waterproof characteristic. It is perfect for decorating diverse smooth surfaces.
Due to their different usage, final performance, components, visual effects, etc., you may see lots of vinyl stickers on the market and cannot distinguish them. It doesn’t matter. While you get used to some of the most common ones, you will be able to get into the groove quickly with others. They are pretty commonplace.
And today, we are going to design with a printable kind. With its free-to-print feature, this vinyl sticker can be your best choice as a custom vinyl sticker combining pictures and images.
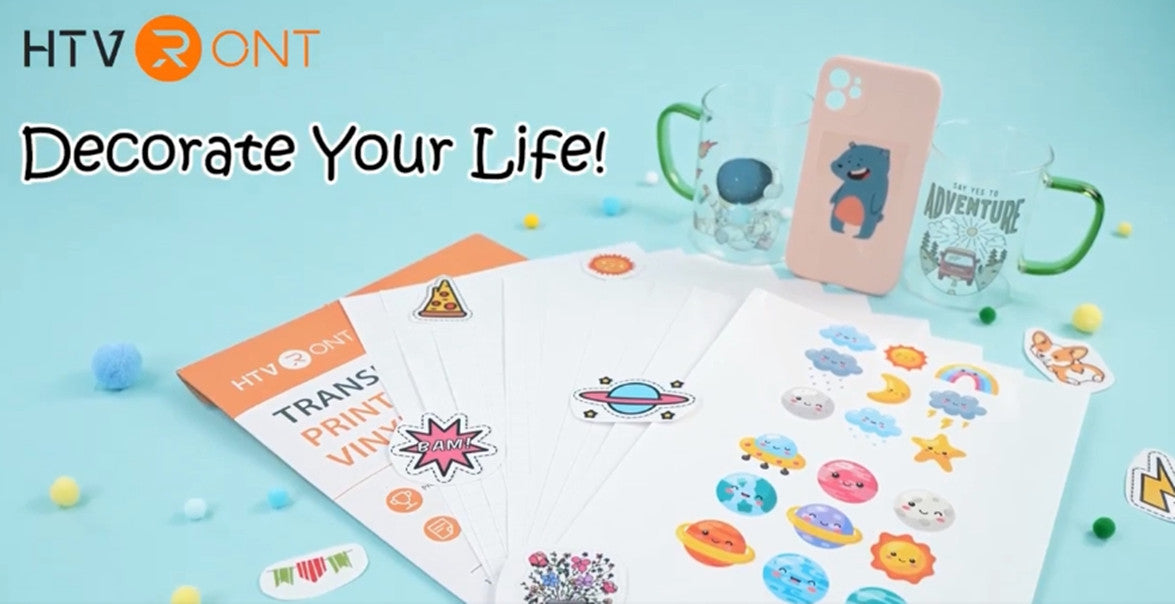
Items you will need in the crafting process:
1. Printer
2. Regular ink
3. Printable vinyl
4. Cutting machine/Scissors
5. Associated design software for your machine
6. Cutting mat
While making a custom vinyl sticker, the salient point is to create a personalised design with graph manipulation software by yourself. In the most commonplace, crafters prefer to use Cricut Design Space or Silhouette Studio to complete this step.
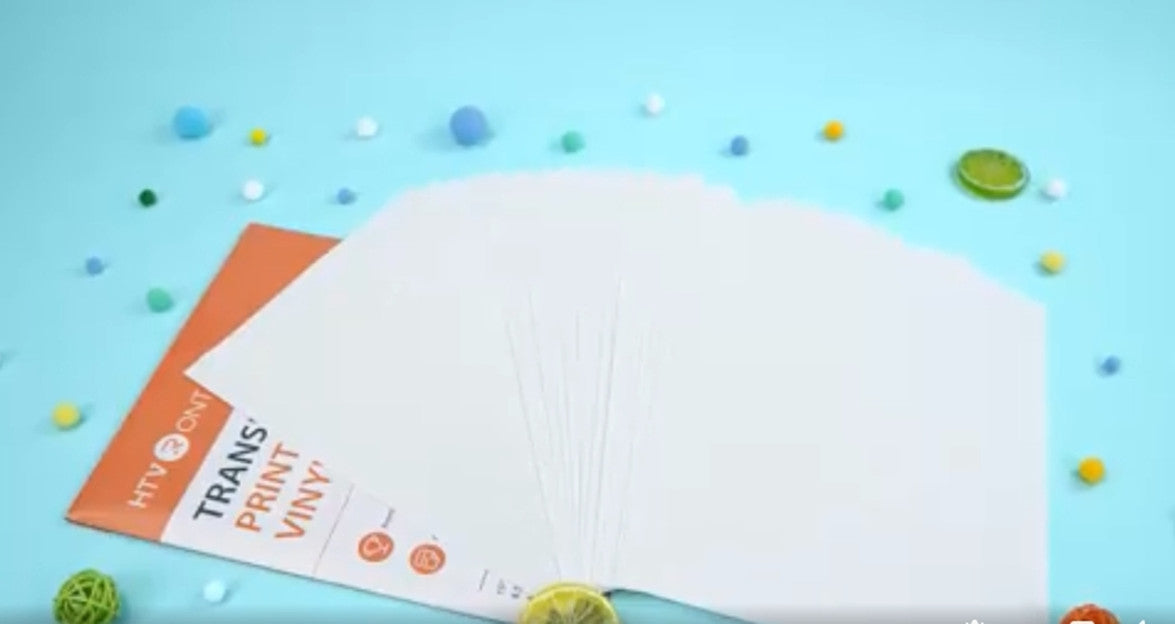
Upload your exclusive image or download one from another location on the Internet into your editing program. You can edit the size, the color depth, and more on the software and print it out with a printer.
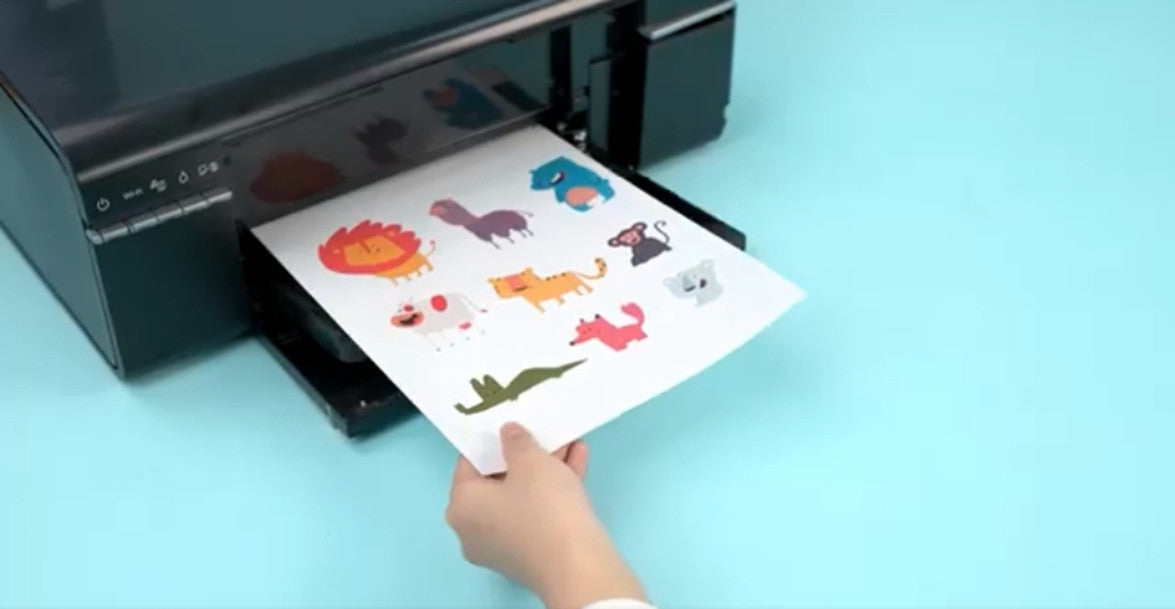
Remember that it is unnecessary to reverse your image before printing. The printable vinyl stickers will be applied with the pictures facing up.
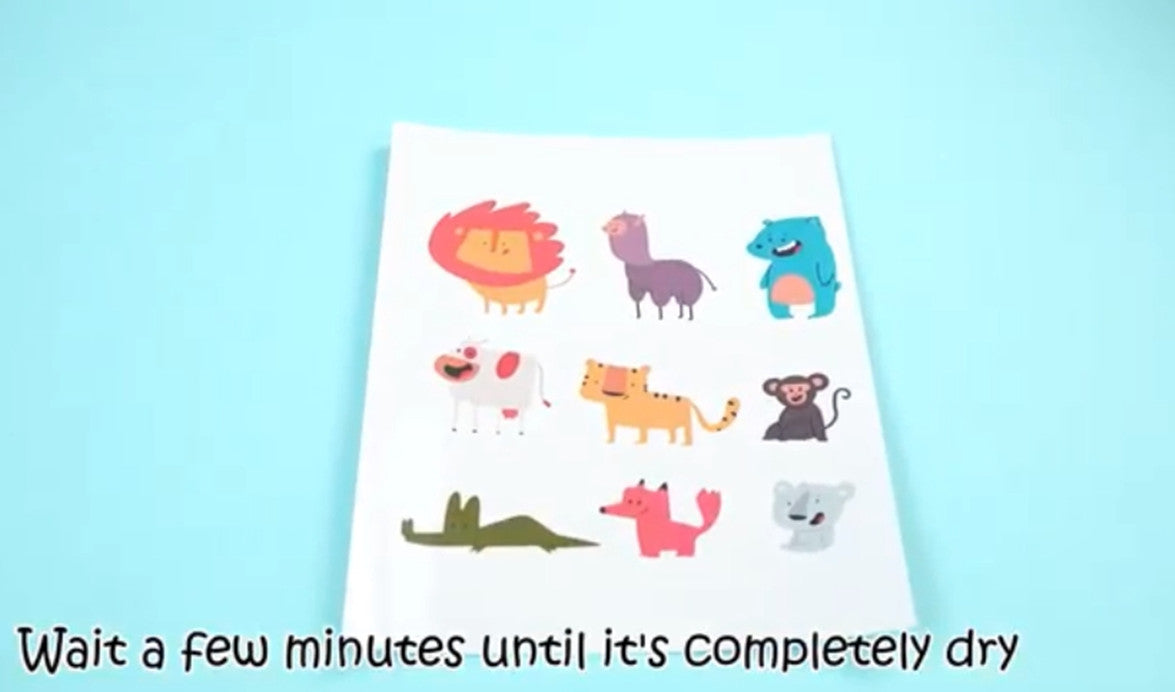
Since there are always two layers on a sheet of printable sticker paper, one is the printing layer and another the protective backing, if you’re designing a bunch of images on one page, you may need to cut the upper layer out so as to peel off the custom vinyl stickers better.
The foolproof way is using a pair of scissors, but this method often asks for long-time consumption and exemplary patience. Therefore, it would be easier and quicker to master the process with a cutting machine. Personally speaking, I use Cricut Maker 3 as often.
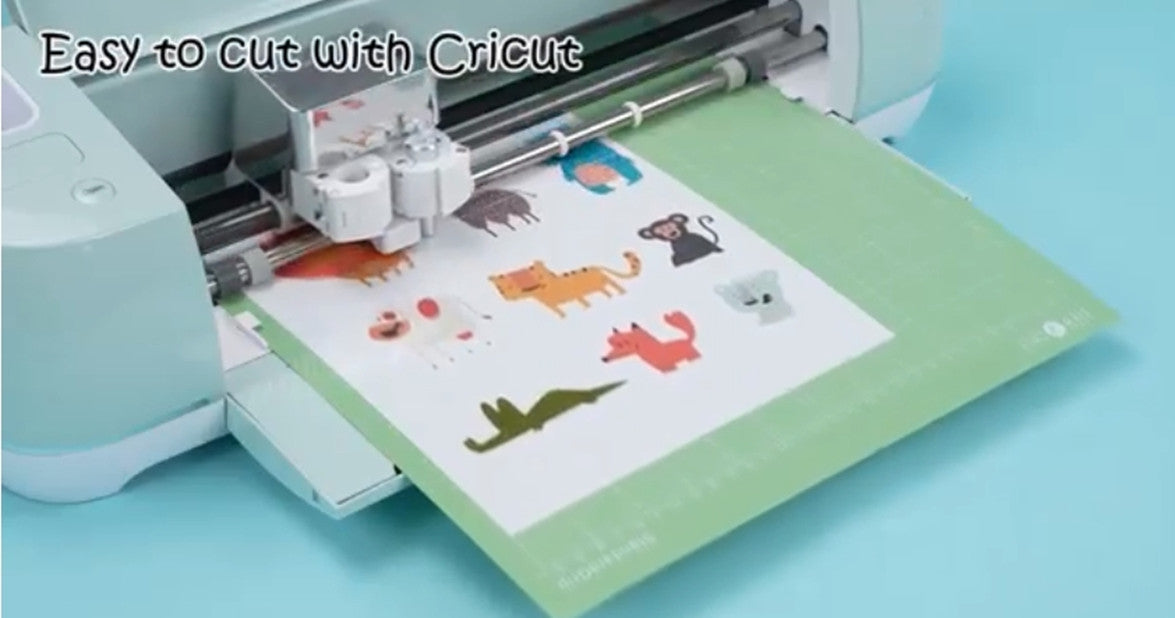
It combines a “print-then-cut” function, which allows you to print with its Cricut Design Space and will set a cutting mark on the printed images. This way, it would be like a breeze to cut down the pictures alongside their contours, and the personalised vinyl stickers are almost there.
After printing and cutting the outline of your custom vinyl stickers, you only need to peel off them to dot any smooth and flat surfaces. Easy peasy, and there is no need to think hard about how to apply vinyl stickers.
You little boys may consider embellishing their sweet bedroom with an adorable dinosaur, superman, cute puppy, car, and truck stickers. And your little princesses would like to retouch their bags, desks, books, and even hands with delicious strawberries, pretty cartoon characters, stars, and red hearts.
What’s more, these printable vinyl stickers can even work as a type of vinyl tile stickers. Of course, not in the way of filling out the whole bathroom or covering an intact tile in your house. But you are capable of repairing a broken spot under the guise of bigger custom vinyl stickers or just some tile decorations.
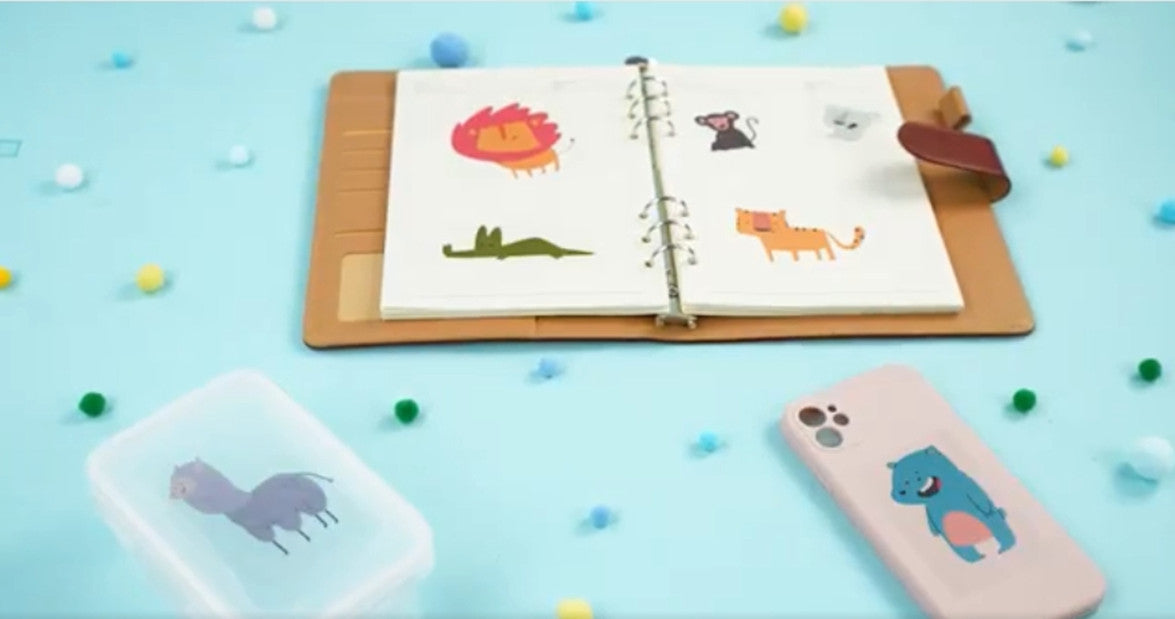
Phone cases, water bottles, coffee mugs, gift cards, sketchbooks, photo frames, and more are waiting for you to explore the most innovative application of vinyl stickers! This an excellent way to unleash your creativity and enhance your children’s hands-on ability!
If you got some old vinyl stickers on your preferred items and now want to change the previous ones into new personalised vinyl stickers, you can check here to learn how to remove vinyl stickers.
Typically, the timeworn vinyl tile stickers are easy to break and leave some touchy and sticky residues while removed. In this situation, you can use a steel scraper to wipe off the residues caused by the stickers. This method is primarily for hard and flat items like tiles and windows.
Suppose you are working with a stainless steel bottle or mirror. You can wet your rag with soapy water or alcohol and then wipe the place with sticky residues in small circles until they are gone.
When you’ve done cleaning the custom vinyl stickers, you must wait until the spot is dry to add the new one. Otherwise, the custom vinyl sticker may quickly fall off in a short time.


To improve our service quality, we value your shopping experience at HTVRONT official website and your willingness to recommend us to others. Please take a few moments to complete this survey.Your opinions are important to us. Thank you for your participation and support!
Website interaction (e.g., shopping page, promotion, order, payment process)
Product (e.g., product quality, style)
Logistics (e.g., shipping, delivery)
Customer Service (e.g., response speed, professionalism)
[Website - Shopping Page]
[Website - Promotion]
[Website - Order and Payment Process]
[Product]
[Logistics]
[Customer Service]